This week our analyst looks over that memorable Rugby Championship clash between New Zealand and Australia at Forysth Barr Stadium.
On Saturday, New Zealand and Australia put together one of the finest games of rugby that has been played in the last decade, if not longer. Australia rushed into a lead but 17-0 after 15 minutes really just equated to the handicapping that they needed to compete during the match. As the Kiwis came back, and eventually took the lead, it looked like they would comfortably cruise to victory but Australia weren’t done yet and snatched the lead back before the final nail was hammered in the coffin thanks to a sensational Beauden Barrett try.
One area of concern was that only 27,000 people were at the game, that’s almost exactly half the number that turned out last week for the same fixture in Australia. Worryingly, the stadium holds around 3,000 more than turned up, despite the rosy glow of the national teams, both men and women, there are issues further down in the sport, highlighted by mediocre attendances at club games. However, that’s a discussion for another time and another article.
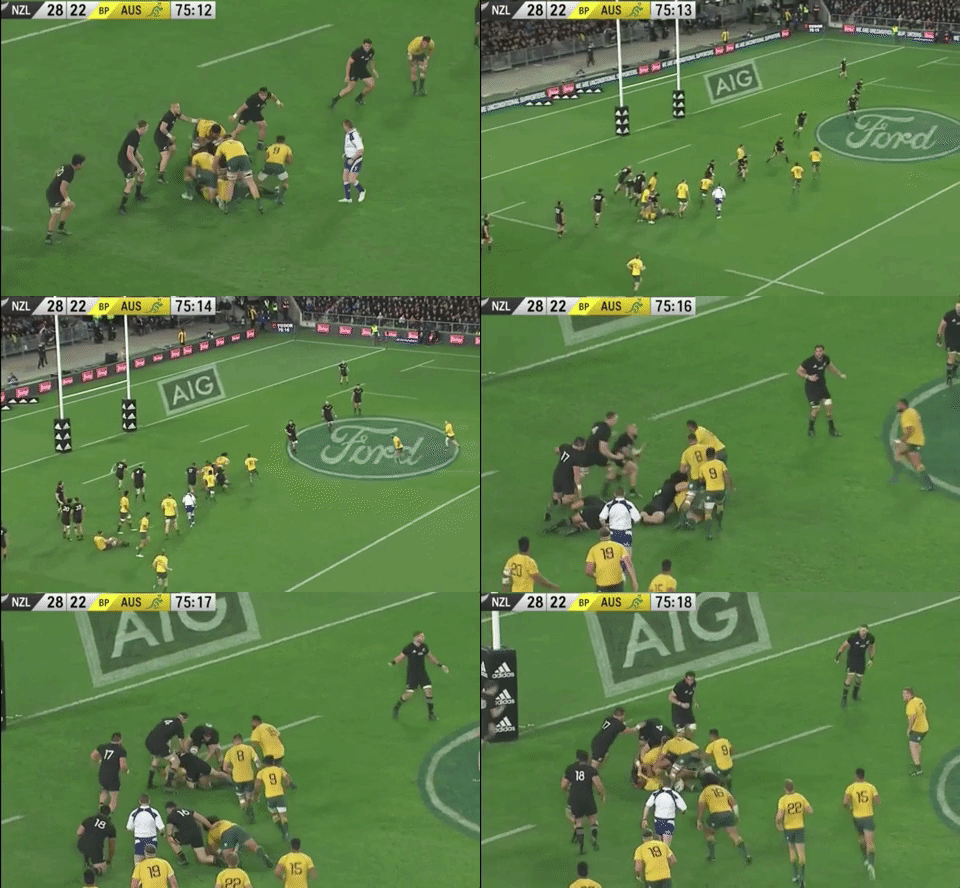
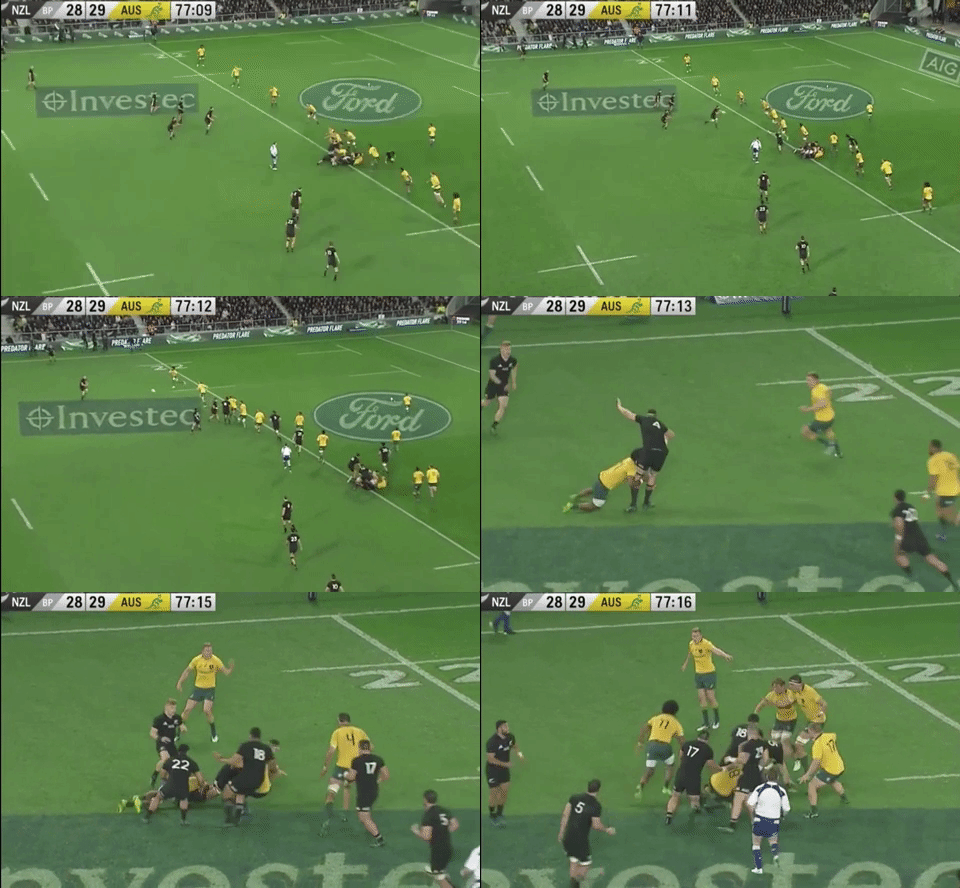
For this article we will be looking at the final two tries of the game and analysing what happened, in depth. We’ll kick off by looking at the final Australian try, scored by Kurtley Beale. It came after seven phases, from a lineout 10 metres away from the New Zealand try-line.
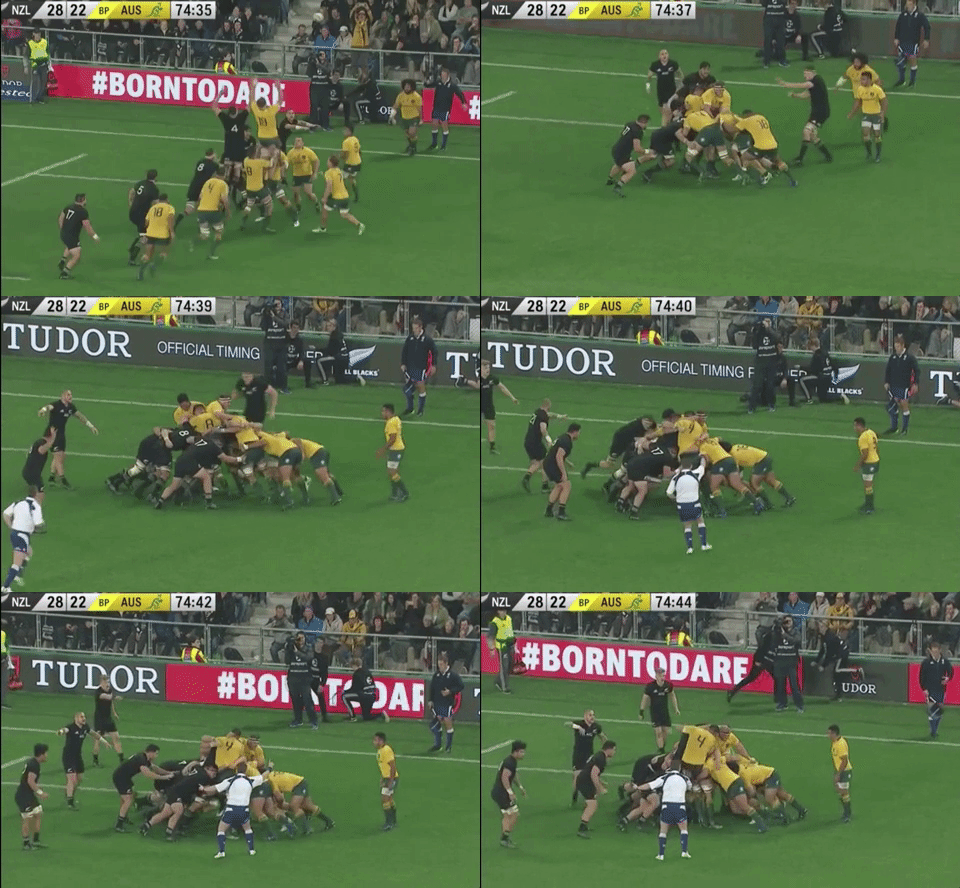
Debutant, Izack Rodda is tasked with winning the ball at the line-out, which he does under pressure from Brodie Retallick. Interestingly, the soon retiring hooker, Stephen Moore, has yet to play an entire game – he managed 40 minutes in the first round and 38 in the second game. Because Retallick goes up you would expect that Australia get the initial push on but the All Black defence is strong.
Will Genia probably leaves the ball in there for a little too long and when it does come out there’s not much on other than a Beale crash ball. With the forwards all tied into the maul, it’s up to Bernard Foley and Tevita Kuridrani to get the ball back. They don’t gain yardage but they do set up an attacking position in the middle of the pitch.
This is the phase which really makes the try. Genia tries to go back against the grain, where his forward strength is, but Sean McMahon has got across and he identifies that there are only backs to defend on the near side of the ruck. McMahon had a cracking game, he ran a match leading 14 times, tied only with Kieran Read. Although he didn’t crash through the defence much, he was able to keep the Aussies on the front foot. Because he put his side on the front foot he allowed the forwards to spread across the pitch and create a bunch more attacking options.
This is a misstep, Rob Simmons gets isolated and Australia only just manage to sneak the ball back for the next phase. It removes the near side from the attack though because Israel Folau has to get into the breakdown to get the ball back.
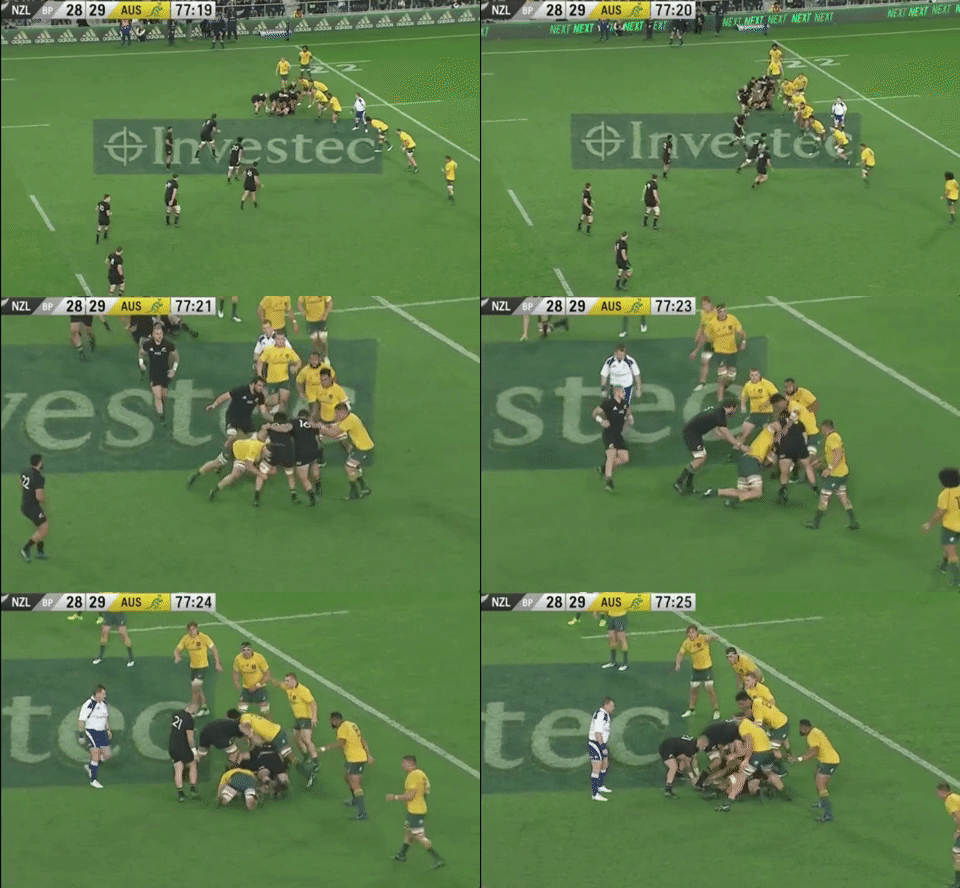
As New Zealand have got stretched across the pitch, they’ve ended up with the far from ideal situation of having a hooker, Codie Taylor, and prop, Ofa Tu’ungafasi in key defensive positions. Genia hits replacement hooker Tatafu Polota-Nau who carves a line between the two front rowers. Both Taylor and Tu’ungafasi get tied up in the same tackle and that frees up a hole for Beale to slip through.
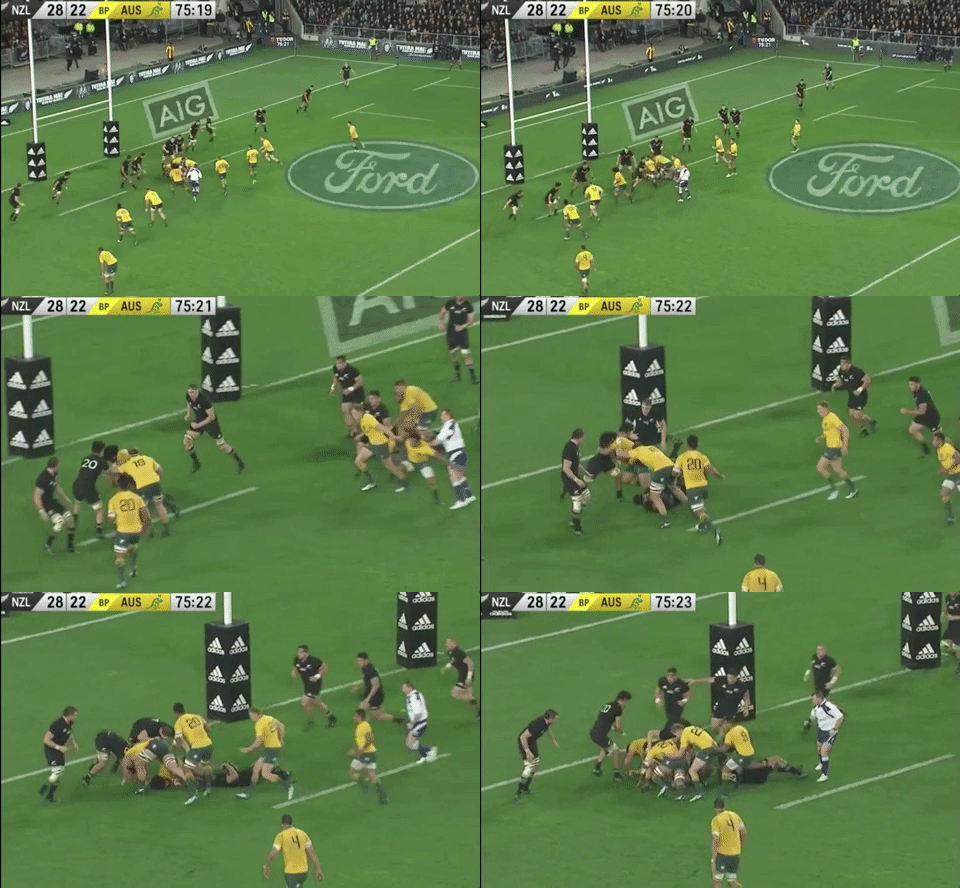
Polota-Nau gets involved again in the penultimate phase. The hooker has a soft defence to run at, they’ve been turned around and he goes back the other way and within the 5m line. This stretches the defence even more and results in the next clip.
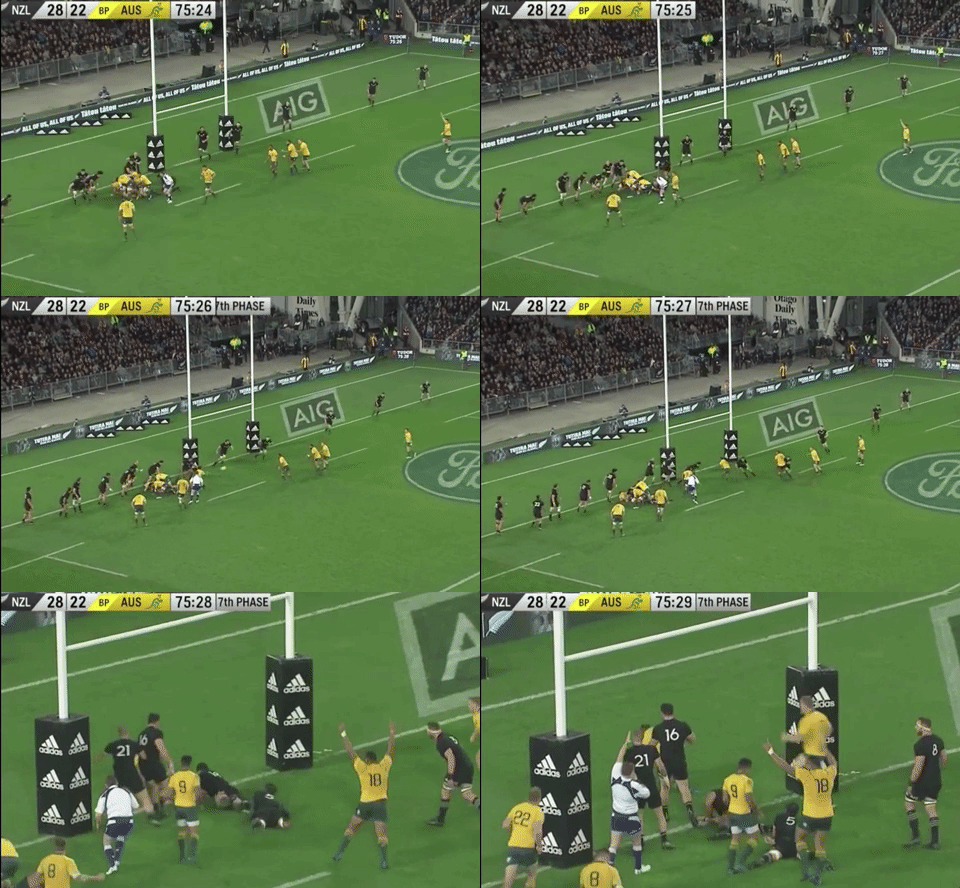
Sam Whitelock is expecting some inside support from Tu’ungafasi, but the prop isn’t close to getting across to make the tackle. Whitelock does well to rush out, but he just doesn’t account for Beale. If he rushes out and aims at Beale, he probably stops this try, at least for this phase.
You will often hear coach say that you should attack one way and not go back and forth. The idea is that if you go back and forth, the fringe defenders don’t have to move around the ruck, instead they will just stay where they are and wait for the second attack. However, by moving attackers around the ruck you can hit a soft spot in the defence if you then come back the other way, something Australia did to good effect in this try.
What a way to end the game, a brilliant Australian try, unfortunately, the All Blacks guarantee a heart breaking end to a game a few times a year. They delivered that with three nerveless phases which completely tore through the, much improved, Australian defence.
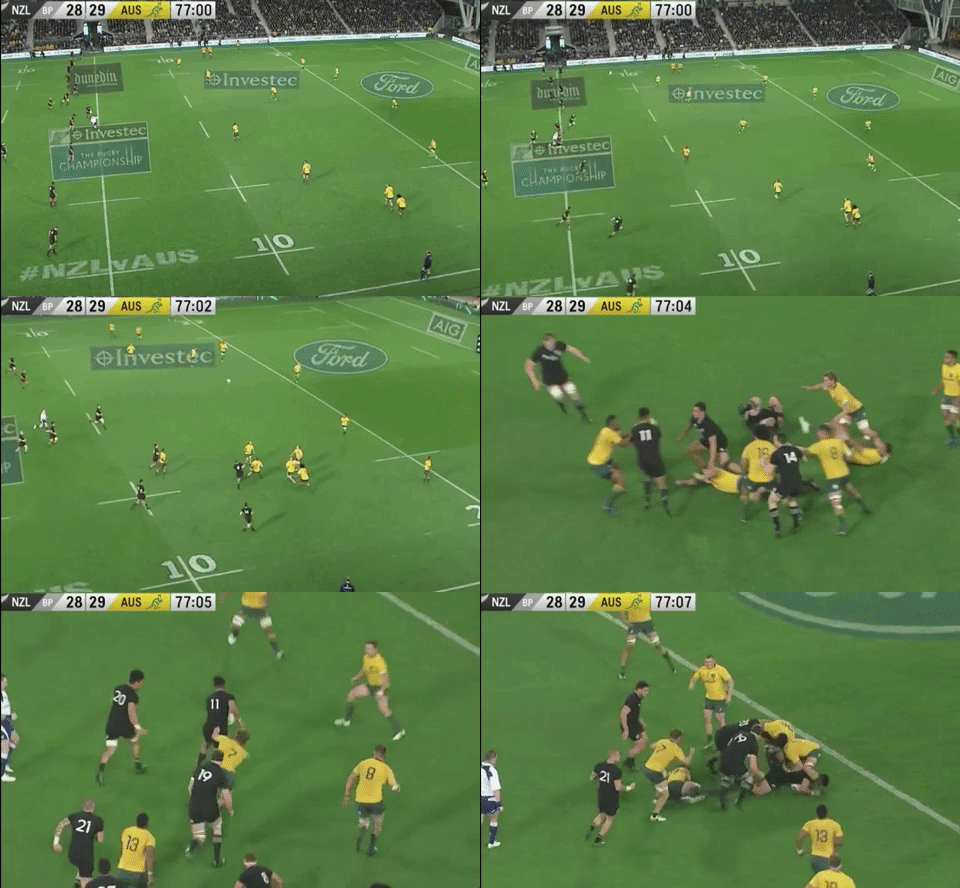
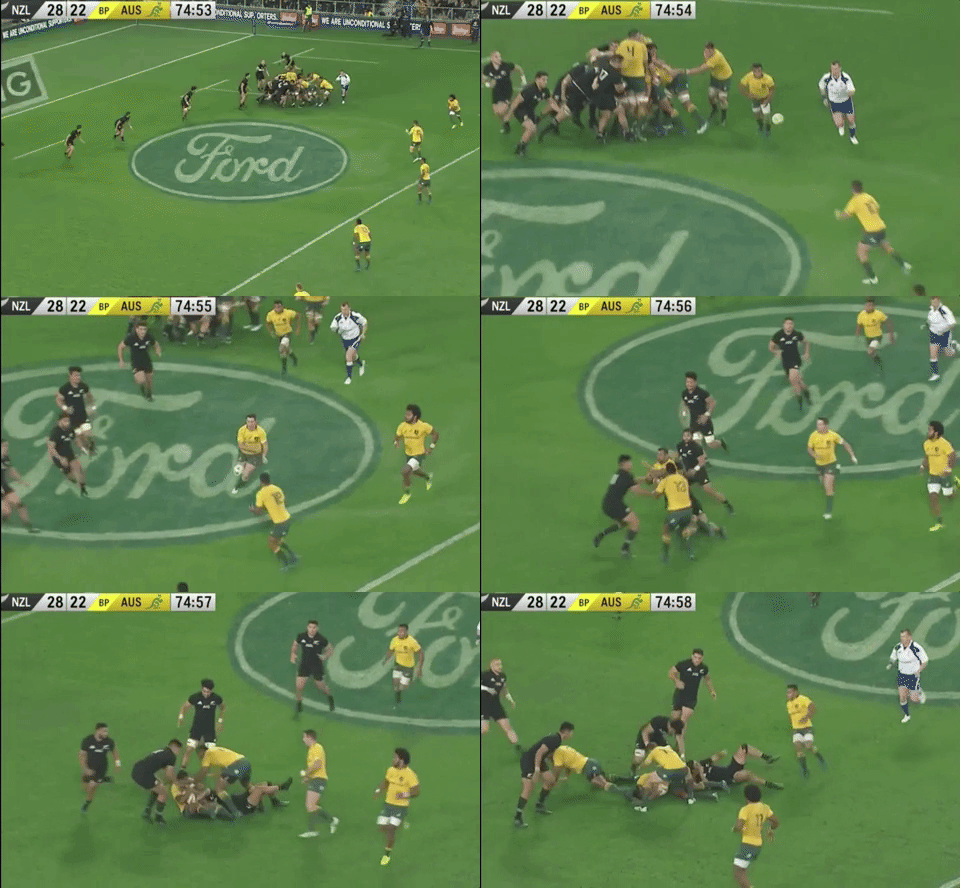
If anyone tells you that the kick off isn’t an important part of rugby, they are completely wrong. It’s a crucial part of the modern game, where broken field play is the goal, the easiest way to get a broken field is to win your own kick off. Against the Lions, the All Blacks sent a mixture of Kieran Read and Jordie Barrett to compete for the kick, Read didn’t have much luck a month ago, but he gets the ball here and it ends up in the hands of Rieko Ioane.
Even after the half break by Ioane, the Australian defence is very well set and despite a nice couple of passes by TJ Perenara and Lima Sopoaga, the move ends with a loss. There’s some great defence by Henry Speight, who rushes out and halts the attacking move before it gets any momentum. Interestingly, Damian McKenzie can score in the corner, but he massively overruns Retallick and that option is gone.
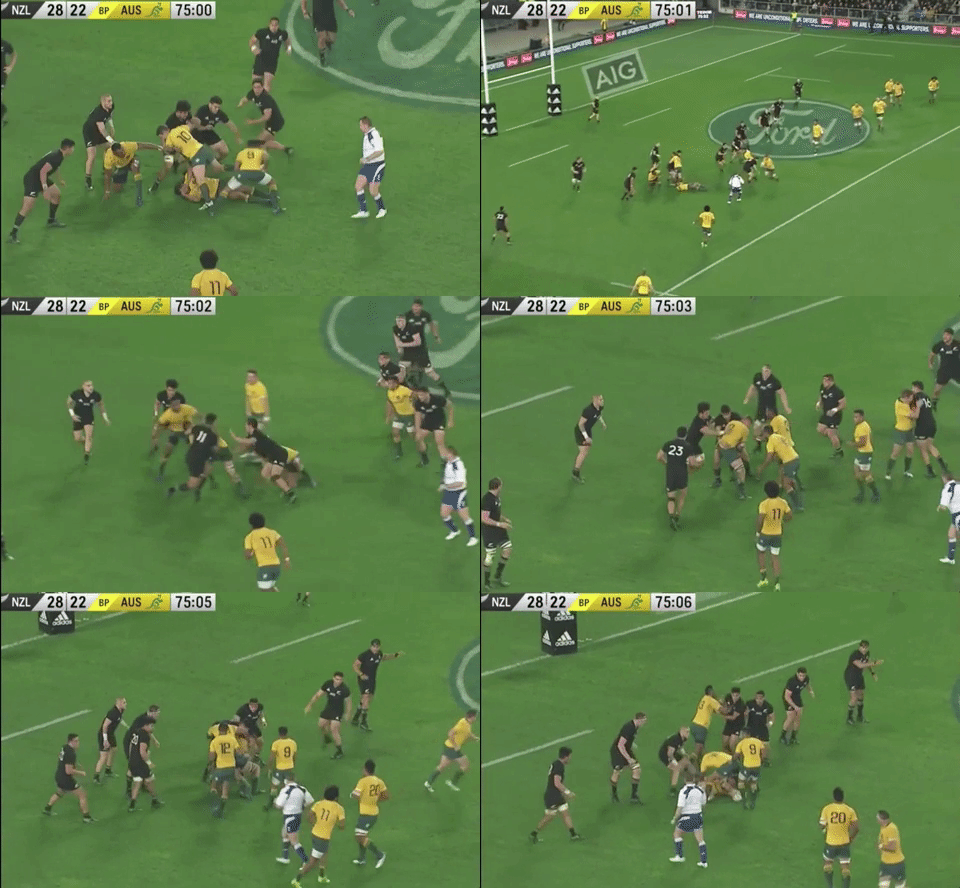
New Zealand are set up much better in this clip, the have the option of putting the ball behind the pod to Sopoaga but Ardie Savea crashes it up instead. The flanker gets hit soon but rides the tackle and gets beyond the gain line. That brings up the next play, one of the best tries for a long long time.
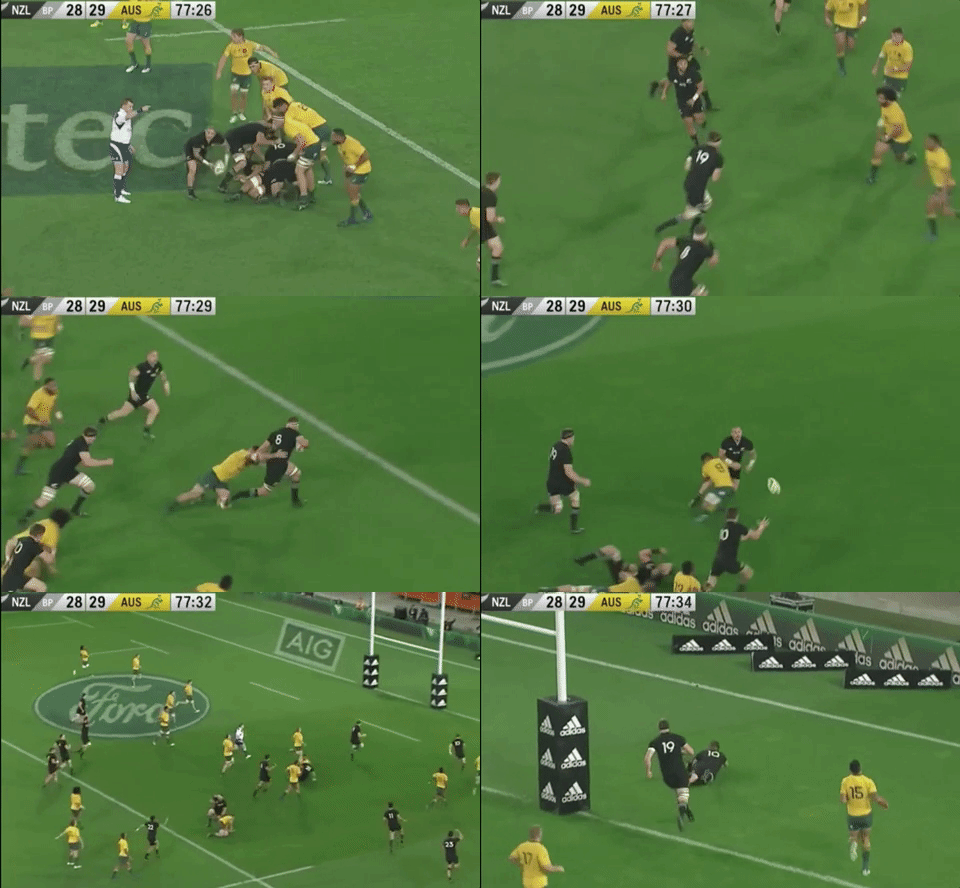
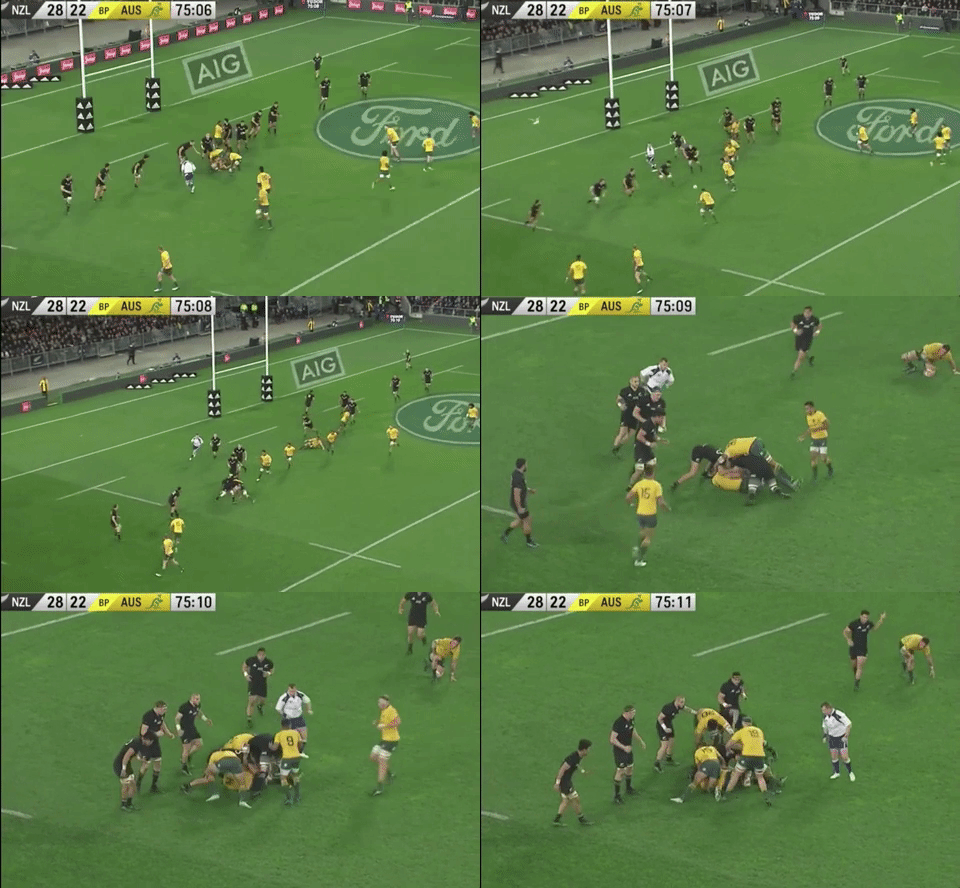
Sopoaga hits Scott Barrett, who is running a hard line. The lock is fixing the defence between the outside forward, Polota-Nau and the inside back, Beale. Beale doesn’t need to get involved here but he rushes up and Read hits a perfect angle on the right shoulder, straight through the hole left by Beale. Barrett’s no look pass throws a few extra style points onto an already wonderful try. Once he’s through the hole it’s the old All Black ability to turn a half break into a try. Read goes back inside to Perenara, a great lesson for young scrum-halves is to follow plays through like this, in the best case scenario you will get a pass back and go over for a try, but if that doesn’t happen you will be there for the next phase. Perenara has the option to go back to Scott Barrett or, as he ends up doing, going over to Beauden Barrett for the try.
New Zealand’s late, match winning, tries are very predictable, but that shouldn’t take anything about from the majesty of this game winning try. It had everything that makes the All Blacks great; quick ball from the breakdown, ball handling forwards, and support running after a half break. Both this game and this try will be remembered for a good while yet.
Conclusion
That’s quite a lot to write about two tries, but they were very deserving of the attention. The All Blacks have won, yet again, but they have displayed a glaring defensive weakness in the process; they have now conceded 63 points in two games, last year they conceded 84 in six games. If they continue to concede at the same rate as they have done already, South Africa will be waiting in the wings to take their first Kiwi scalp since 2014. For Australia, the defeat will be a crushing one, but they are an improving side and will hope to take two wins against Argentina and see if they can snatch a win from a much improved South Africa.
The post Analysis: Late drama in Dunedin appeared first on Planet Rugby.